Replacing your shower head is a fantastic DIY project that can make an immense difference to your morning routine. Unlike installing a toilet, this task doesn't require extensive plumbing knowledge or tools - plus the results could make a lasting impressionful statement about you as an individual!
Before beginning, be sure to lay a towel or blanket down in the tub or shower area as protection against dropped tools and parts. Also apply a 50/50 vinegar/water solution directly onto connecting nuts to loosen stubborn mineral deposits.
1. Turn off the water
Switching up your shower head can save water while improving your morning (and evening) routine. Before beginning this DIY task, be sure to turn off the main water source to prevent flooding or leaks from happening.
For ease, shut off the valve next to your shower head or in your home's plumbing system. Next, unscrew and remove your old shower head by unscrewing from its pipe in the wall; make sure that after cleaning its threads thoroughly with Teflon tape to ensure a tight seal when retaping with Teflon tape re-taped back over them with Teflon tape for a tight seal.
2. Remove the old shower head
If you need to replace your shower head due to clogging or simply because it has become outdated, the first step should be removing the old one and following any specific instructions that came with your new model.
If your shower head is tightly attached to its pipe, wrap a towel around it and use pliers or an adjustable wrench to loosen it. Once loose, simply unscrew and hand-screw off.
Clean the pipe where the old shower head was connected by using distilled vinegar - its acidity dissolves mineral deposits more easily so they can be removed more easily with wiping.
3. Clean the pipe in the wall
Mineral deposits can build up in your shower pipe that runs through the wall, restricting water flow. If you use a hose or sprayer instead of the head, the problem could become even worse.
If your shower head is removable, soak it in a mixture of white vinegar and water for several hours, or ideally overnight, before following these same cleaning instructions to remove deposits. Otherwise, an expensive pipe snake might be required; as an alternative Teflon tape may help seal threads when mounting new showerheads onto pipes.
4. Apply thread-sealing Teflon tape
Replacing a shower head might sound daunting, but in actuality it is an effortless and straightforward DIY project that even novice homeowners can undertake themselves. Just be sure that all necessary tools and materials are at hand before beginning this task!
Use a wire brush, old toothbrush or damp paper towel to carefully clean and dry the threaded end of a pipe located within the wall before applying thread-sealing Teflon tape clockwise in multiple layers; each wrap should cover at least 50% of what came before.
Once the tape has been applied, tighten your new shower head by hand or use an adjustable wrench if necessary to further tighten it.
5. Install the new shower head
When installing your new shower head, referring to its product instructions is key to making an easy installation experience. In general, fasten the shower head onto its arm, hand tighten and then tighten further with an adjustable wrench or pliers as necessary.
Replacing a shower head is an easy DIY project that will bring new life to your bathroom, freshening up its appearance and adding some much-needed comfort. Just be sure to switch off the water first in order to prevent flooding of your home, using tools only where they are required, starting with clean pipes to protect against leaks, and placing a towel or rag under any tools to protect their finish as well as catch any drips from your shower head.
6. Check for leaks
Before installing the new shower head, first inspect it carefully for cracks or mineral buildup that could lead to leakage. If any exist, use a commercial product designed to dissolve mineral deposits to clean its faceplate.
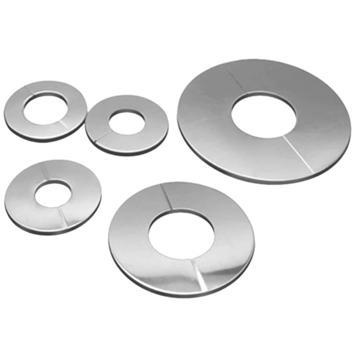
Additionally, inspect the escutcheon plate for water stains that could indicate it isn't sealing against the wall properly. If leakage occurs, either tighten up its screws more or add plumber's putty around its back to improve sealing performance.
Keep a bucket or other container handy to catch any water that dribbles during this process, and remember to switch off your water source prior to starting.